Configure Map Tiles and Imagery
This article explains the data types and formats required to load or update imagery for your Virtual Super project — either by your team or by the Virtual Superintendent support team, who can upload drone imagery and elevation data on your behalf.
There are two methods for overlaying imagery on the map:
- Via the Virtual Super Integrations Page
- Email imagery to support@virtualsuper.com
Option 1: Virtual Super Integrations Page
The Integrations Page provides projects with the ability to overlay Web Map Tile Service (WMTS) files on their map independently. This process avoids downloading the files; saving time and computer storage capacity.
WMTS data can be obtained via a Propeller account (or similar) or MetroMaps imagery. To support other WMTS sources, please contact support@virtualsuper.com.
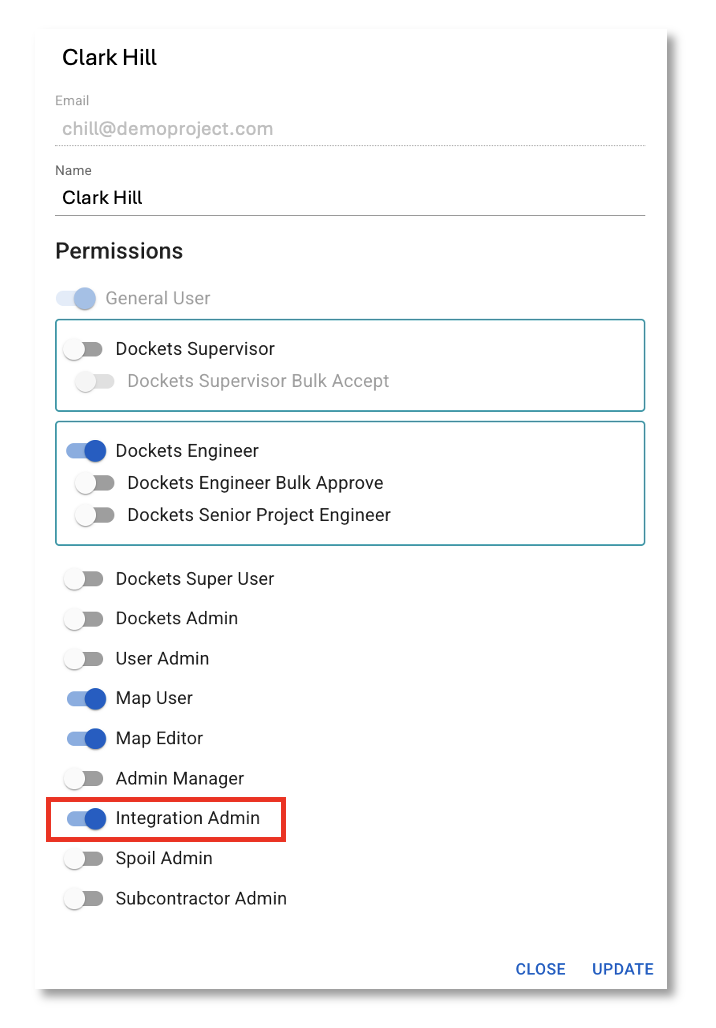
The head contractor user will need the Virtual Super Integration Admin permission enabled to access the Integrations Page.
Upload Imagery
Follow these instructions to upload imagery independently via the Virtual Super Integrations Page.
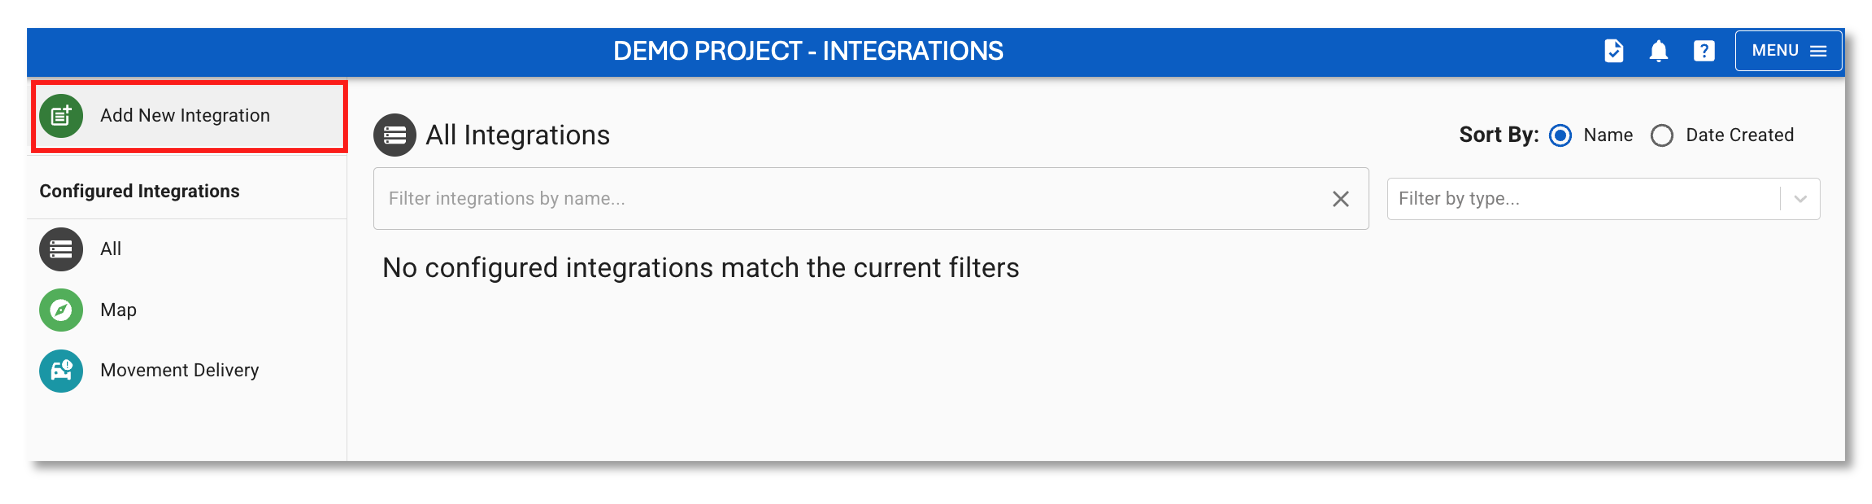
- Go to the Integrations Page

- Click the Add New Integration button
- Click the Start button
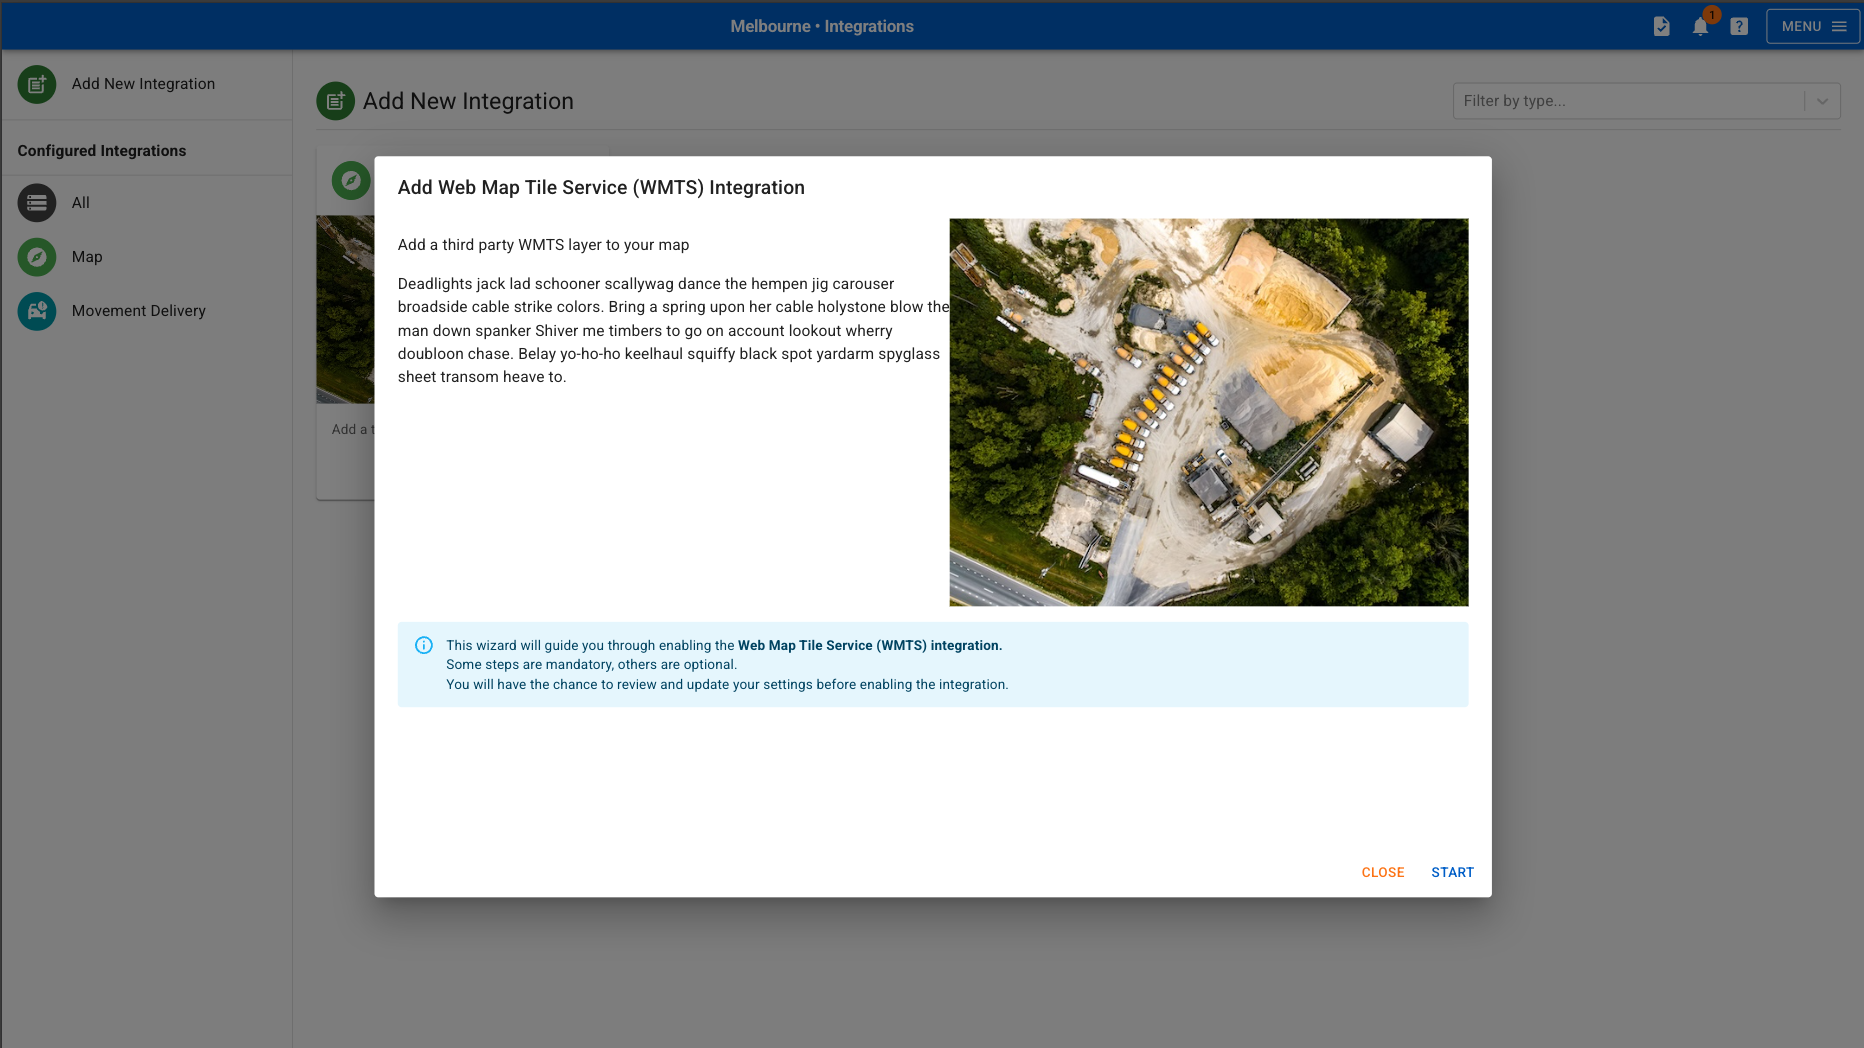
Click image for larger view
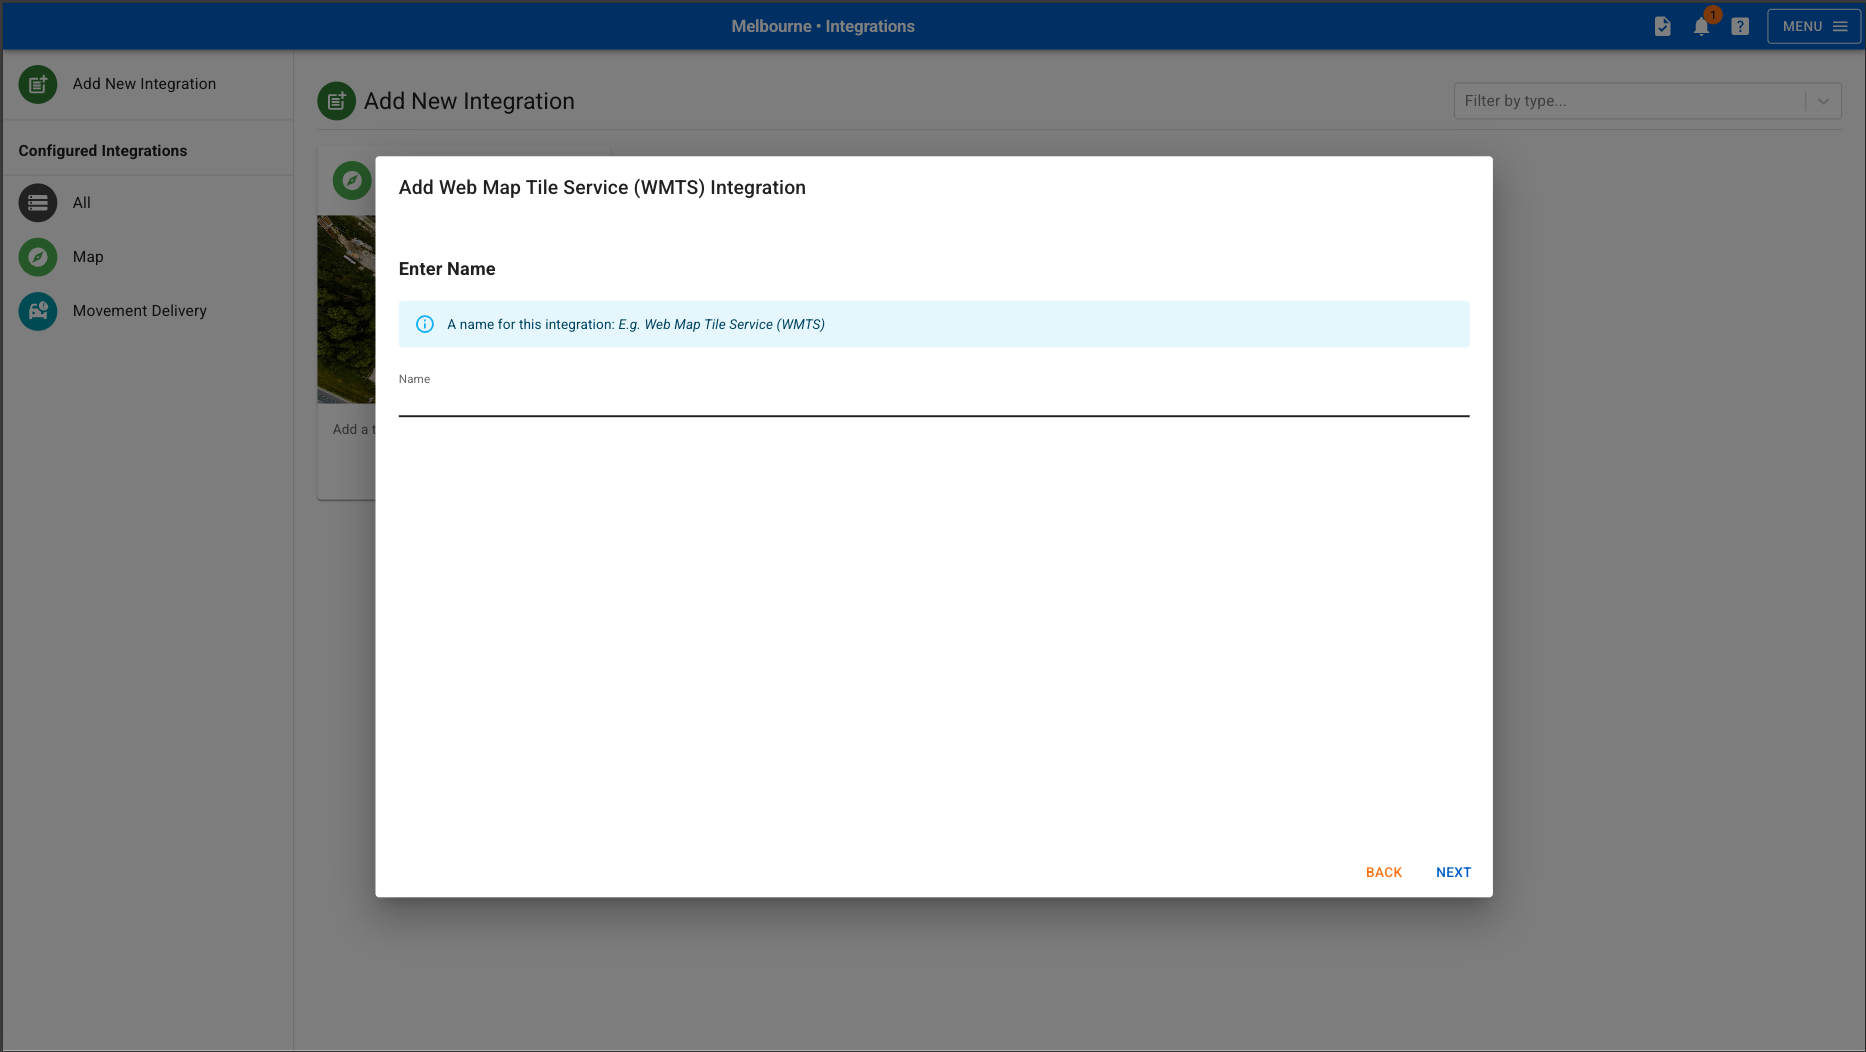
- Enter a Name for the integration, e.g., WMTS Project Name, then press Next
- Copy and paste a valid WMTS url, then press Next

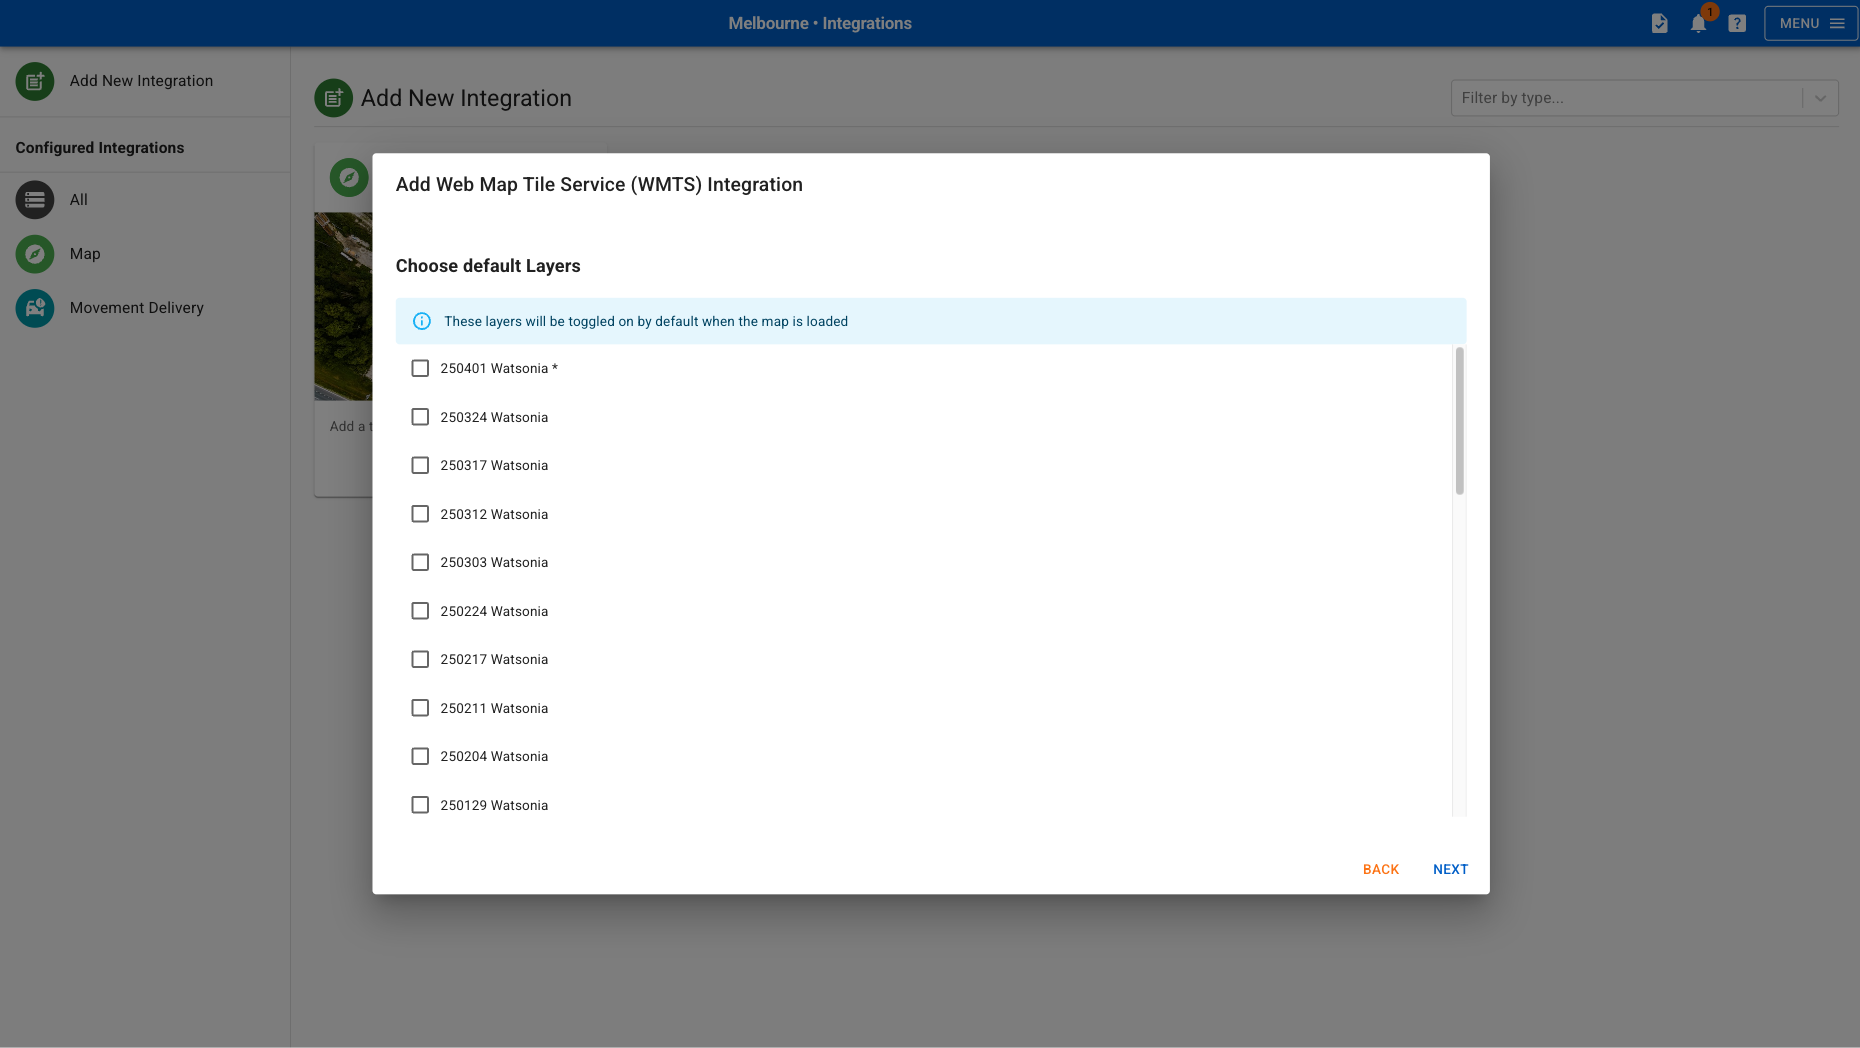
- Once loaded, select the Default Layer(s) to display on the map.
To improve map performance when a WMTS source includes many layers, we recommend creating multiple integrations with distinct names, each configured with a smaller subset of layers enabled by default.
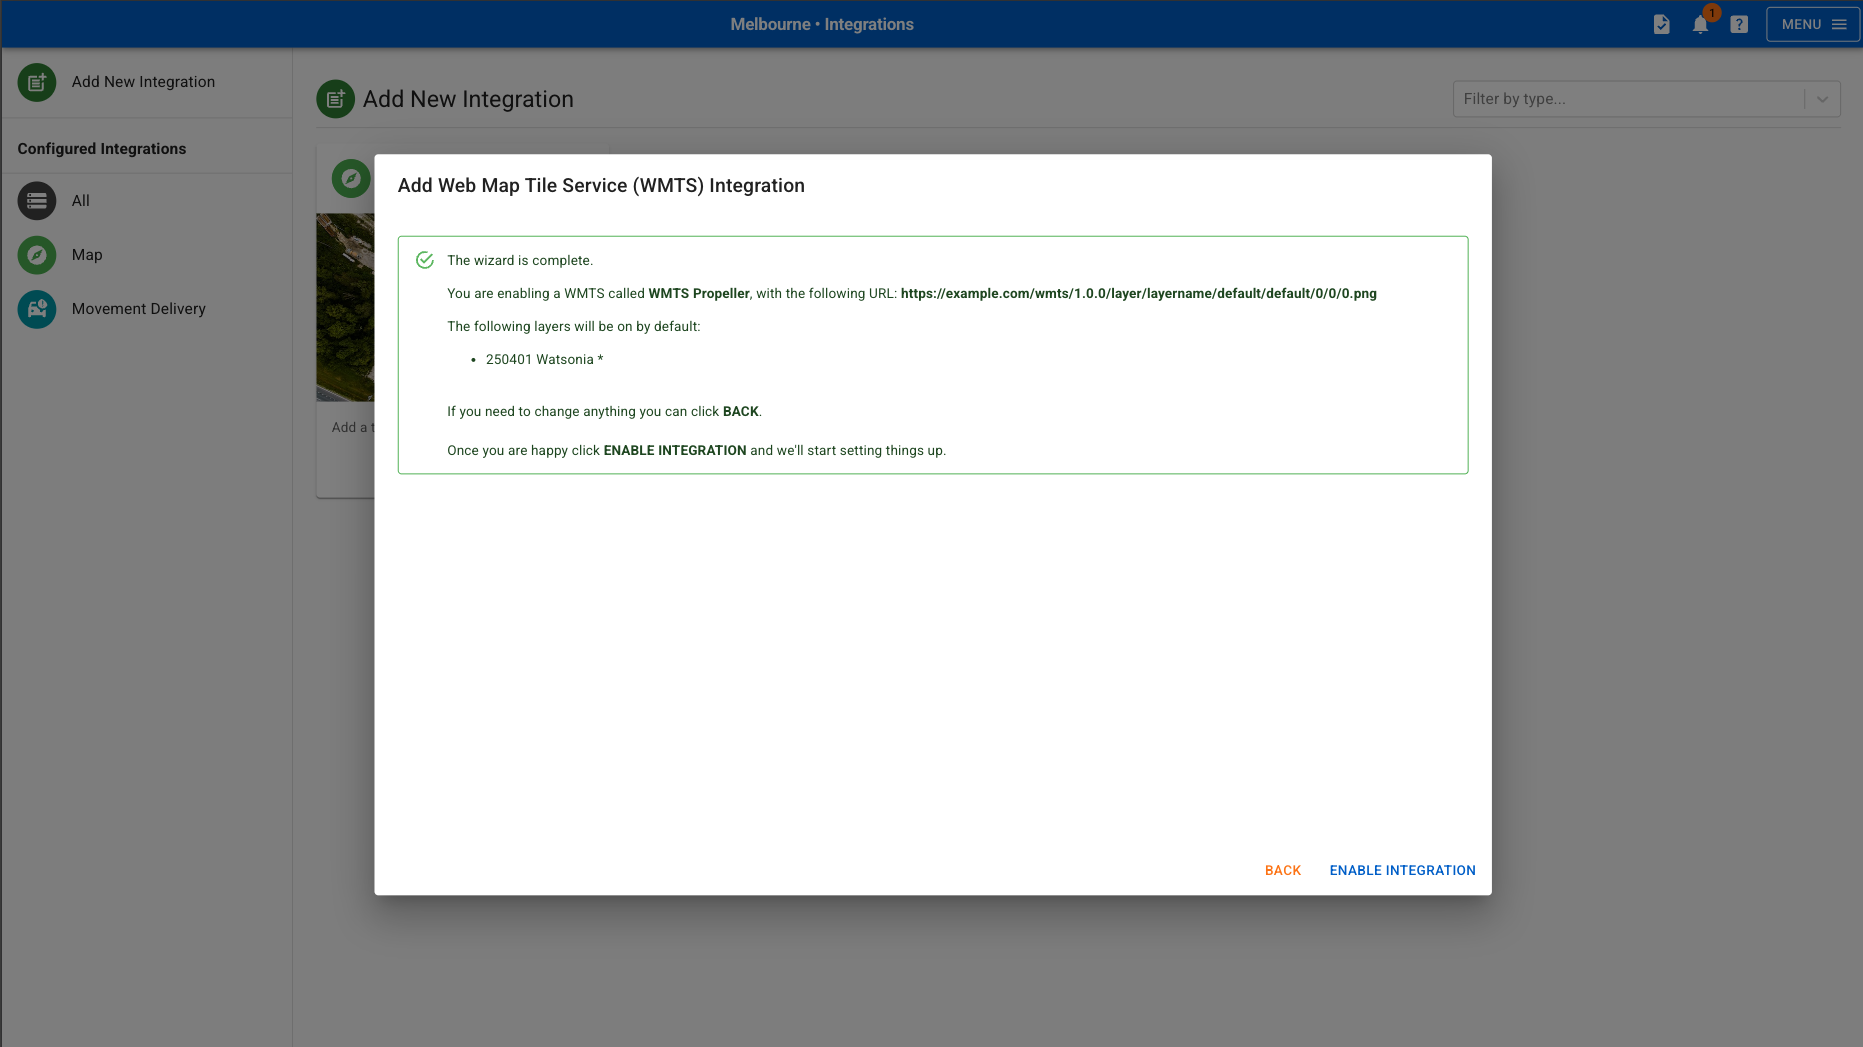
- Review the integration settings and press Enable Integration.
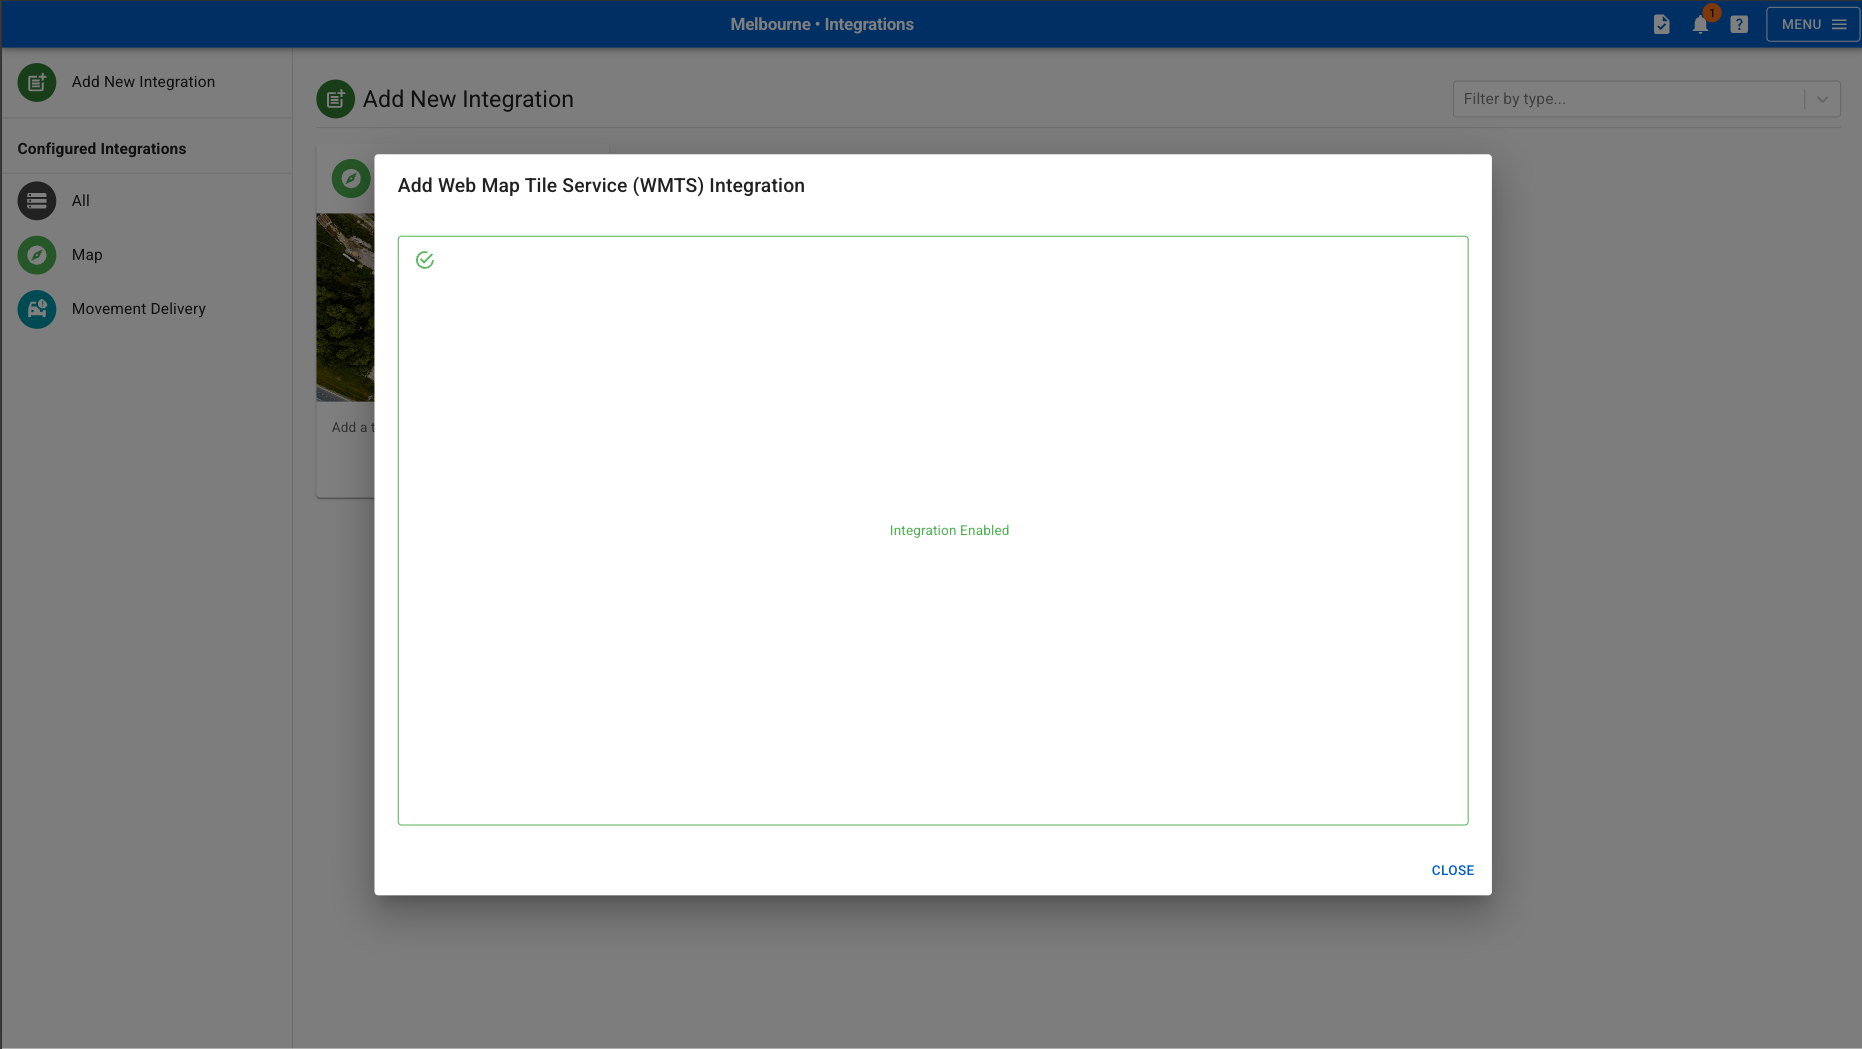
- Once the integration is enabled (this may take a few seconds), navigate to the Configured Integrations - Map tab to ensure the new integration is in the list.
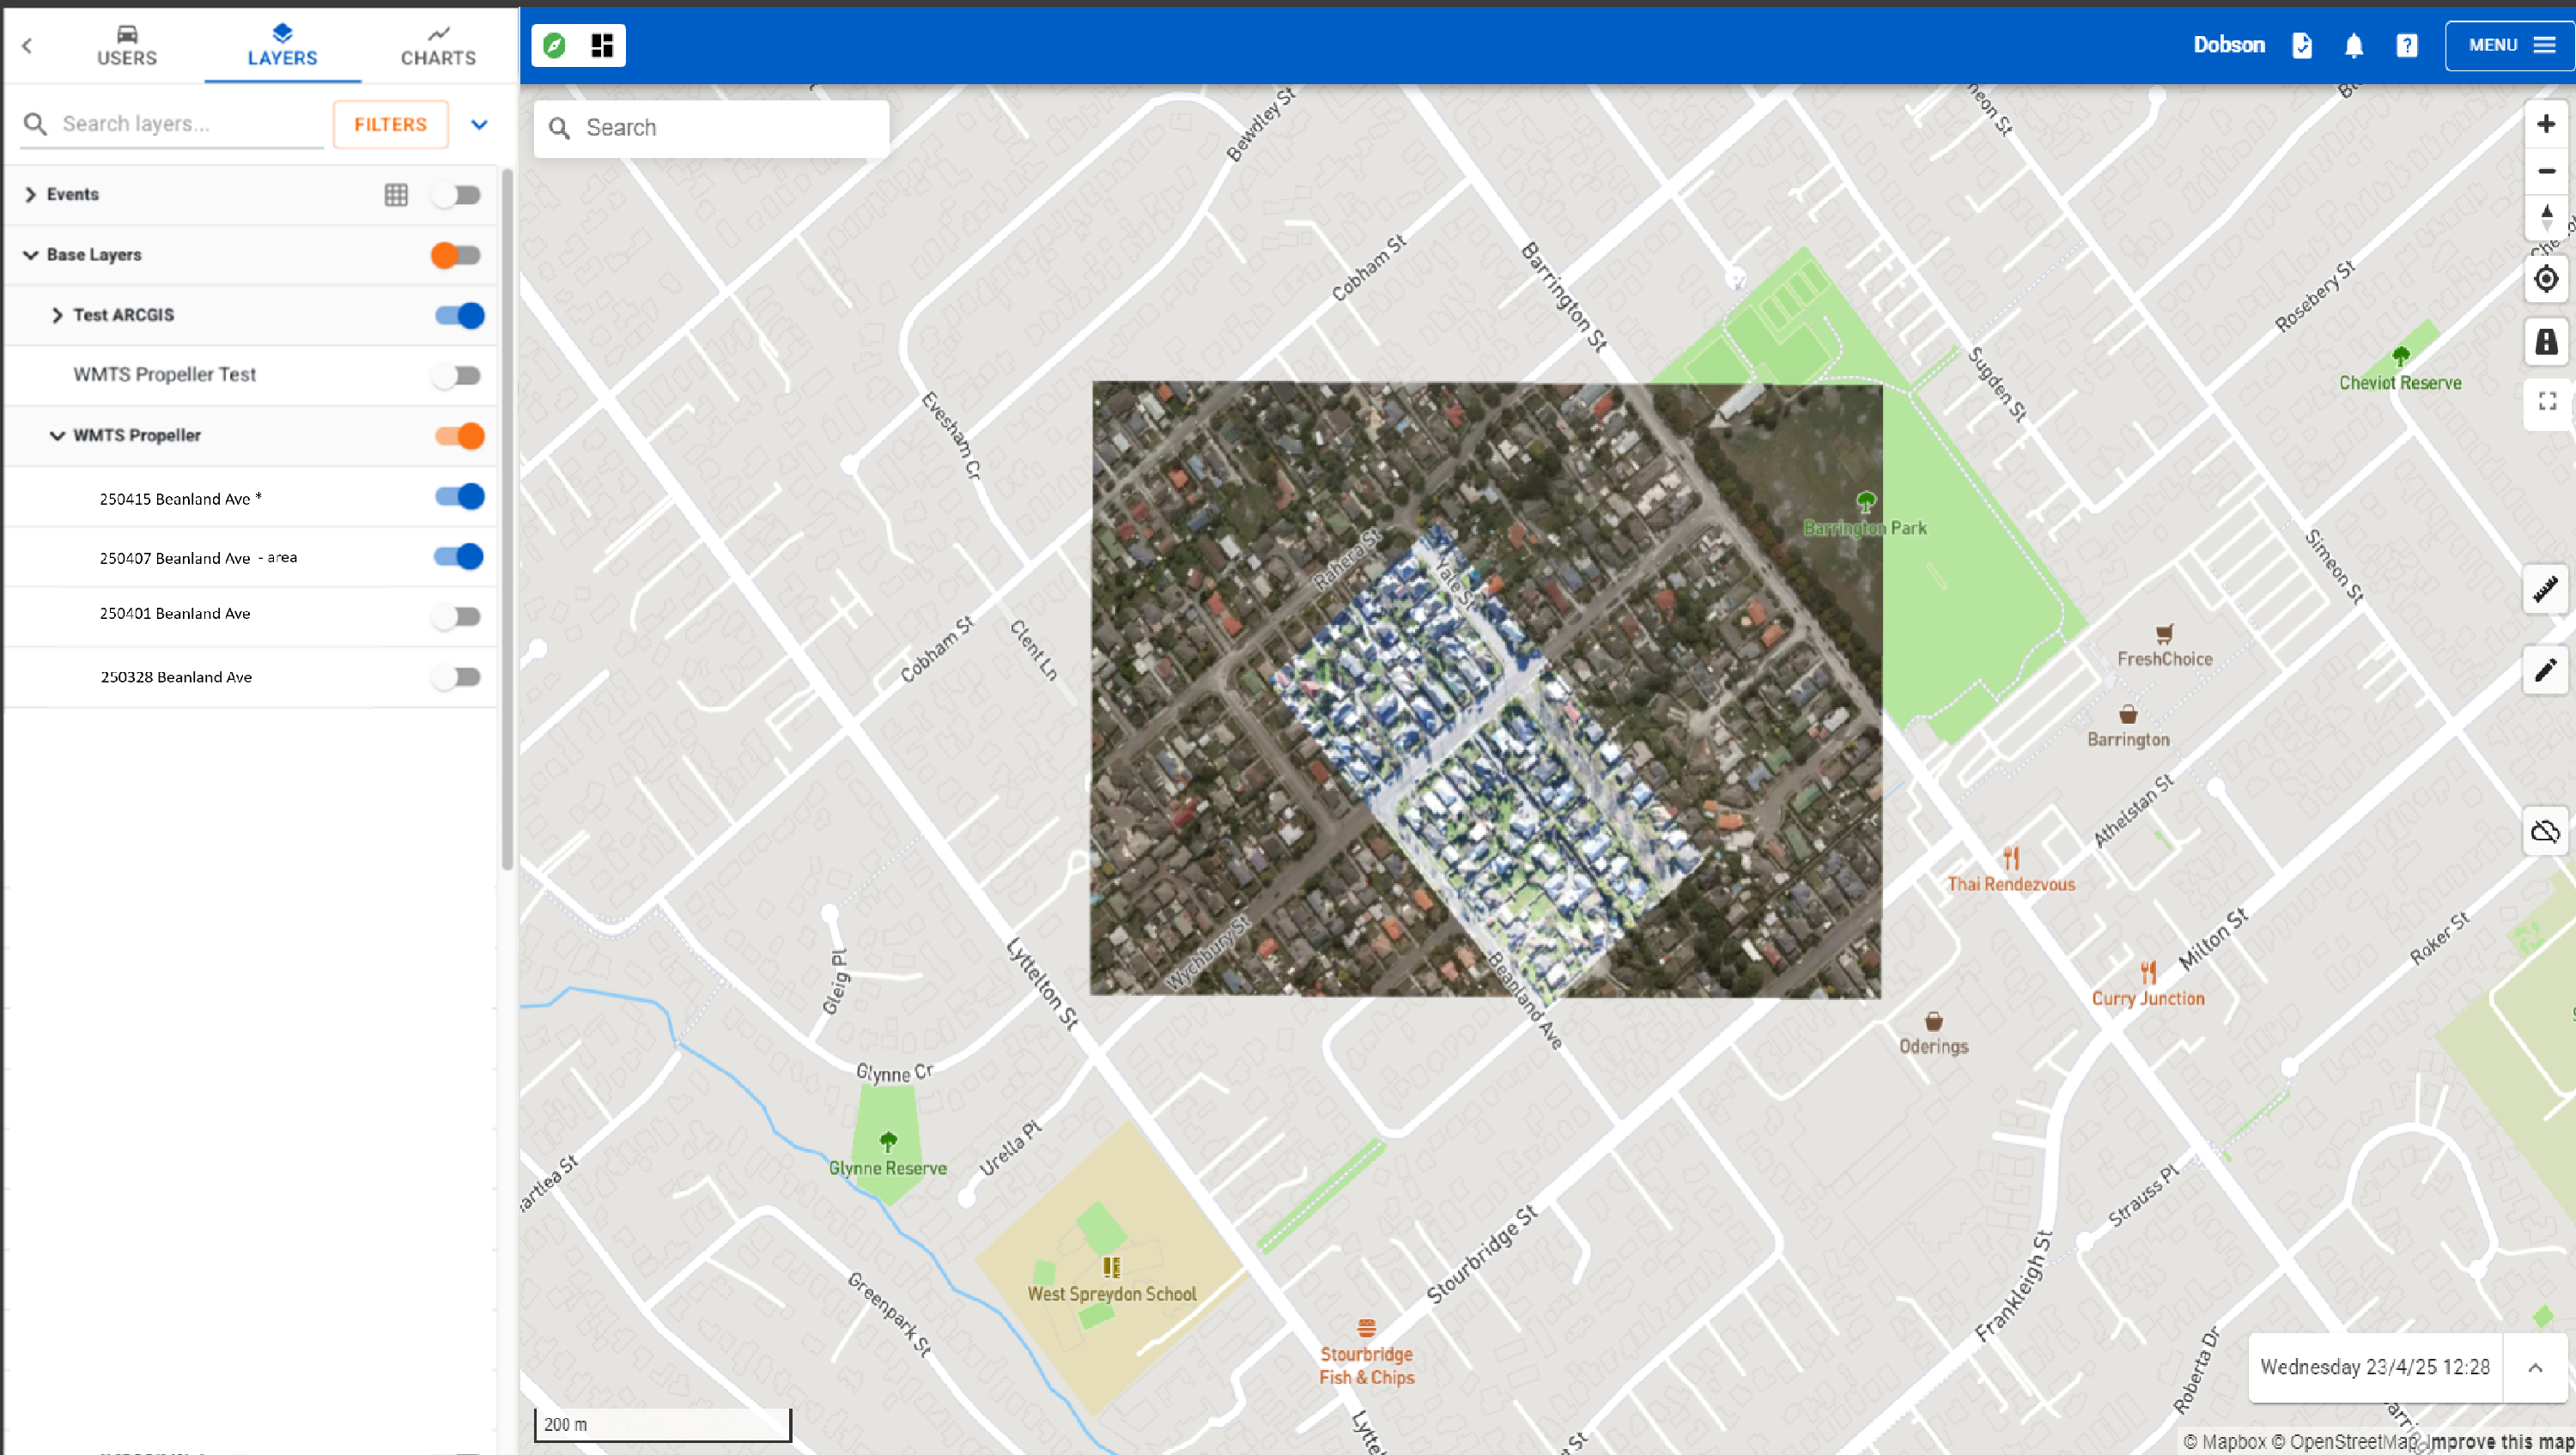
- Navigate to the Virtual Super Maps Page – your integration should be enabled by default when you have the Layer(s) enabled by default.
Option 2: Email Imagery to Support:
The following files/format can be shared by emailing links to the download location to support@virtualsuper.com
Drone Imagery
These files need to be GeoTiff or MBTiles (mapbox tiles).
MBTiles: When using this format, generate these tilesets to support zoom level 20 or 21 to get the best reasonable image resolution. You can use zoom level 22 for smaller projects. See below for more instructions.
Setting the MBTiles Export Options for Drone Imagery
Using Global Mapper software, export to MBTiles using the following settings:

Elevation Model
GeoTiff: This is the required format.
Use Global Mapper to generate a GeoTiff elevation grid by selecting the Export Elevation Grid Format option, then GeoTiff (Cloud Optimized) (see below).


Note: Only VS Support can upload elevation model data.
Please share a link to the elevation grid GeoTiff file location and email it to support@virtualsuper.com.
Setting the Export Options for Generating the Elevation Model
