Understand Allocations for Transport Suppliers
Transport supplier admins use the Allocations Page in their Virtual Super Supplier Portal to receive and manage allocation requests sent by head contractors.
The first time you receive a request from a head contractor, the Allocations Page will automatically appear in your Virtual Super menu. This page will stay in place permanently, so you can use it for all future allocation requests.

This guide explains how to manage allocation requests — from receiving and accepting them, to allocating trucks and drivers, rejecting or updating them.
Every action you take triggers an automatic email notification to the head contractor.
Allocations remain visible in the summary panel on the Allocations Page until the date or time entered in the request has passed.

Receiving an Allocation Request
When a head contractor sends you an allocation request, you will receive an email notification containing:
- A summary of the request details.
-
A secure link that opens the Allocations Page in your Virtual Super Supplier Portal.
Use the filters on the left-hand side of the page to find the specific request. You can filter by the Date, Load Site, or Disposal Site.

Accepting an Allocation
To respond to the request:
-
Open the email notification and click the link to view the request in the Allocations Page.
Press Update, enter details then Accept the request, if you are able to complete the work.
When Accepting the request, you can:
- Add additional Disposal Sites, then split the total available spoil between the sites.
- Allocate Trucks and Drivers (manually or in bulk).
- Optionally, edit or set Start / Finish times per driver.
- Optionally, assign Loads per driver.
Once accepted, the head contractor will receive email notification of this and the details entered by you in the request.
Adding Disposal Sites and Splitting Material Volume
You may need to add extra disposal sites in addition to those listed in the original request. If no disposal site is included, you must assign one (or more) before you can accept the request.
- Use the dropdown-menu add Disposal Sites.
- Split the total spoil volume across the sites.
- Optionally, enter your reason for the change.
Any changes made will be displayed in the summary panel and communication emails.

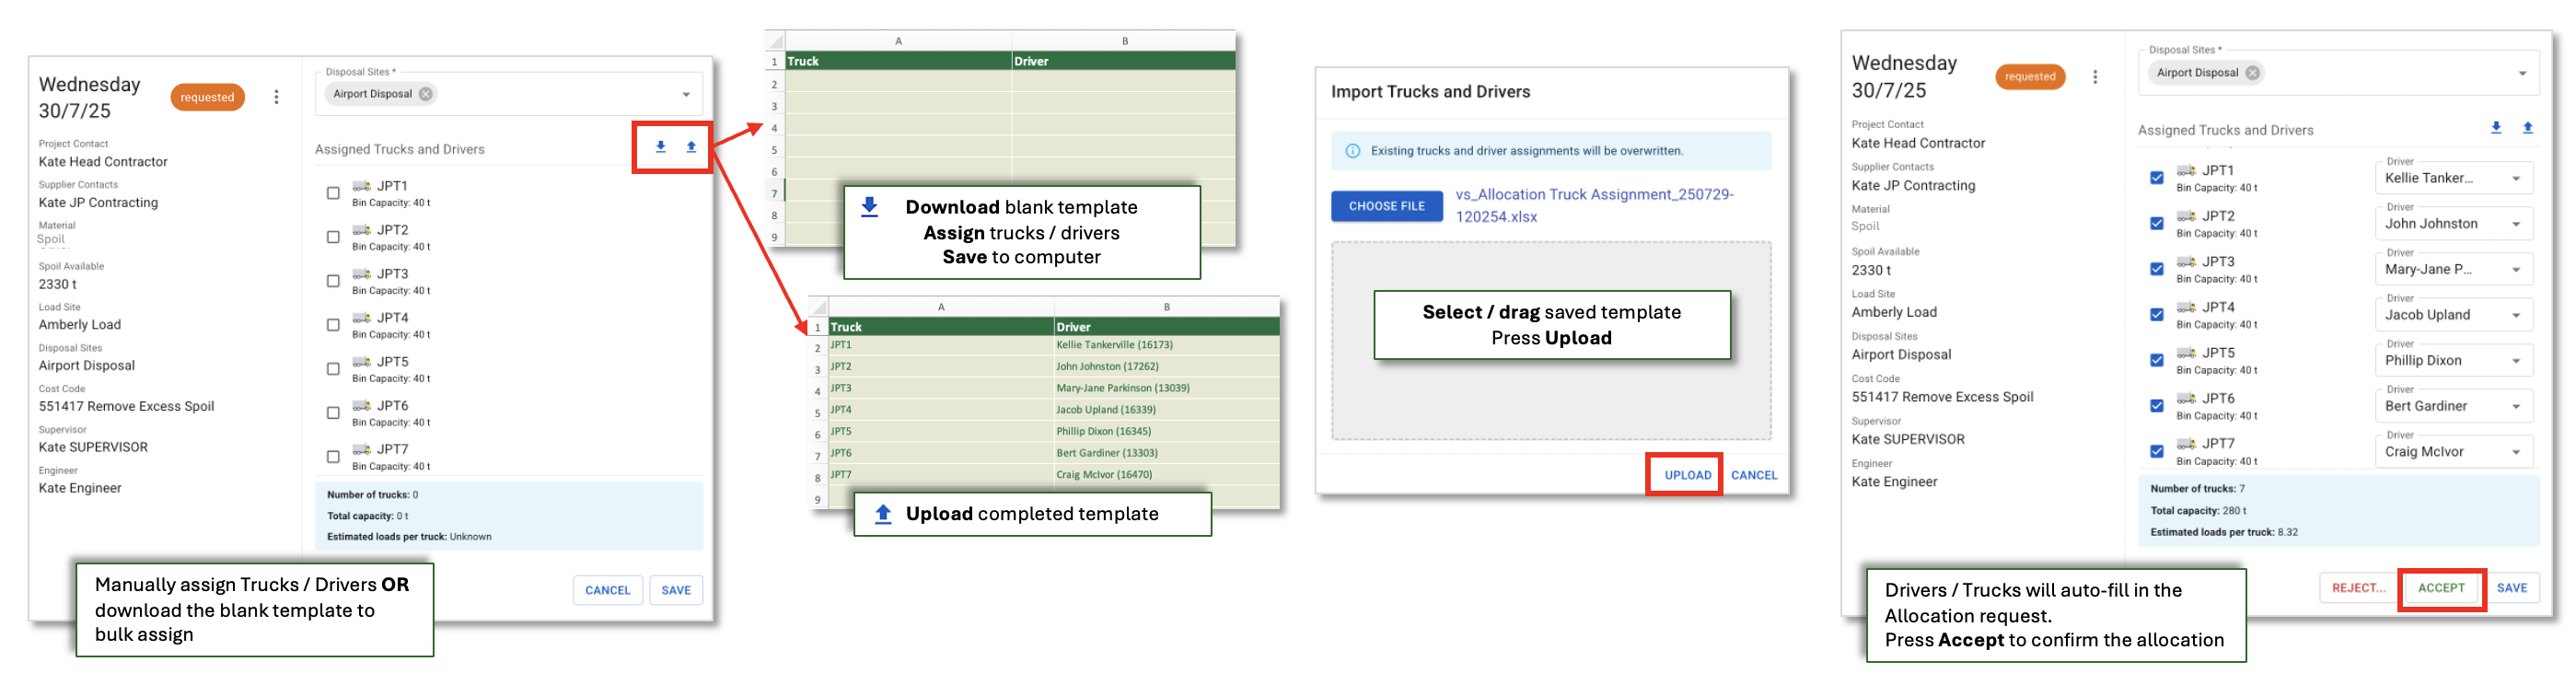
Allocating Trucks and Drivers
Allocating trucks and drivers is a central step in managing requests. In order for the Virtual Super to correctly calculate the estimated number of loads per truck, each truck needs to have a GVM or GML weight entered against it in the plant page. If a truck has both weights entered, the smallest measure will be used for calculations. The results of the calculations appear in a summary box below the list of available trucks.

There are two ways to allocate trucks and drivers;
Manual Allocation
For smaller fleets, manual allocation is straightforward:
-
Use the dropdown-menus in the request to allocate Trucks and Drivers.
If a truck has been driven recently, the most recent driver will be selected automatically. Remember to change the driver, if required.
You can also use the search field to quickly locate a specific truck. Search by registration number, secondary registration, or driver name.

- The system will calculate the Estimated Loads per Truck based on the selections made.
- If required, you can override the system's calculation by entering a value directly into the Loads field for each truck.

Press Accept to confirm and notify the head contractor. Once Accepted, the details will display in the summary panel on your Allocations Page.

Bulk Allocation (Truck Assignment Template)
For larger fleets, the Truck Assignment Template is the fastest way to allocate multiple trucks and drivers in one step:
- To Download the Truck Assignment Template press the down arrow within the request.
-
Fill in the Trucks and Drivers in the template.
Optionally, add Start / Finish times and Loads per truck
- Save the file to your computer
- To Upload the saved file, press the up arrow in the request, then select the saved file. The details will automatically populate the details in the request.
- Press Accept to confirm and notify the head contractor.
Tip: If a driver has an Employee Number saved in their SafeSite user details, you can use this number in the Truck Assignment Template instead of relying on the driver’s name.

This helps to:
- Avoid issues caused when drivers create SafeSite profiles using nicknames.
- Ensure a more accurate and consistent method of assigning drivers.
- Improve reporting accuracy when drivers have similar or duplicate names.
Updating an Accepted Allocation
After an allocation has been accepted, both you and the head contractor will see:
- An Accepted status label.
- A summary of the assigned trucks, drivers, and overall capacity/weight information.
You may still need to make changes after acceptance. To do this:
- Press Update within the allocation summary.
- Optionally, enter a reason for the change which will be included in the allocation history.
- Edit the details, as needed.
- Press Save.
The head contractor will be notified by email of the changes made.
Rejecting an Allocation
If you cannot complete an allocation:
-
Press Reject and provide a rejection reason
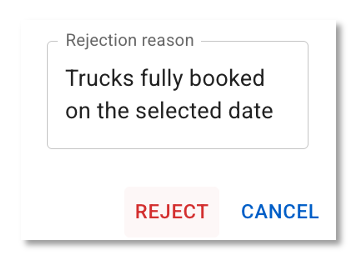

This signals that the work cannot be done, allowing the head contractor to assign it to another supplier.
You can reject a request that you have already accepted, provided that work has not yet started.
Completing the allocation
- On the allocation date or after the start time has passed, the allocation label will automatically update to Accepted – In Progress.
- Drivers will create SafeSite dockets to record the work as it happens.
- If the original request included cost codes, supervisors, or engineers, these details will automatically flow through to the dockets created by drivers.
- When the date or finish time entered in the request has passed, the label changes to Accepted – Finished.
View Allocation History
To review the history of an allocation, including updates or status changes:
- Open the allocation in your Supplier Portal.
- Click the three vertical dots in the allocation dialog.
- Select View History to see a log of all actions taken.
