
The Map Layers Page
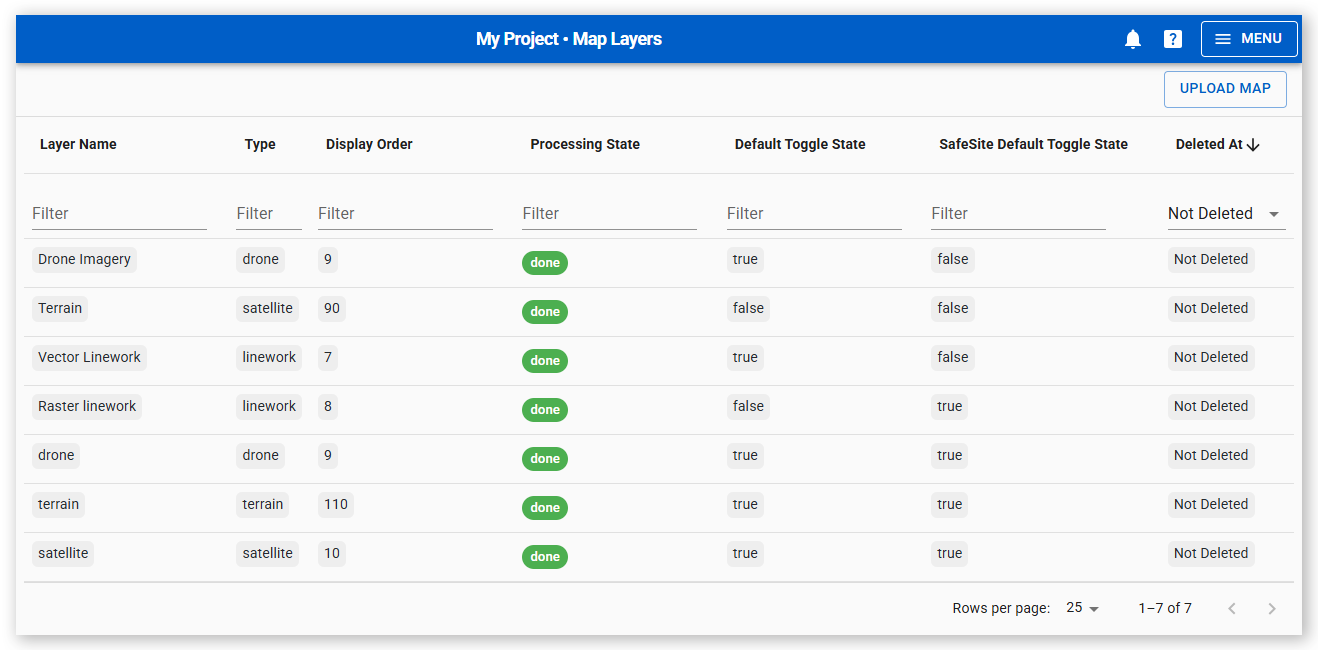
Use the Map Layers page to import and manage custom map tiles and then display these tiles as supplementary layers on the main map.
In this article
Supported Map Import Files
Virtual Superintendent accepts map data files in the following formats:
.mbtiles.tif.tiff
These files contain detailed geospatial information that is processed into map tiles for display.
Important: Map layer import files must use the World Geodetic System 1984 (WGS84) coordinate system.
Terrain map layers
Terrain map data must be imported in .tif or .tiff file format, with a maximum file size of 10 GB.
Terrain files must contain Digital Elevation Model (DEM) data in valid GeoTIFF format.
About Map Tiles
Map tiles are small, square images that fit together, like pieces in a giant jigsaw puzzle, to create a seamless map. Tiles are generated at multiple zoom levels:
- Zoomed out: fewer tiles with lower detail
- Zoomed in: more tiles with higher detail
Map tiles are core components of the maps used in Virtual Superintendent and the SafeSite app.
You can import your own custom map tiles into Virtual Superintendent to add visual layers containing:
- Satellite or drone imagery
- Construction site linework and boundaries
- Geographic details, terrain, and more
Permissions
To access the Map Layers page (Menu > Map Layers) and import and manage maps layers, you must have the following permissions:
- Map Editor
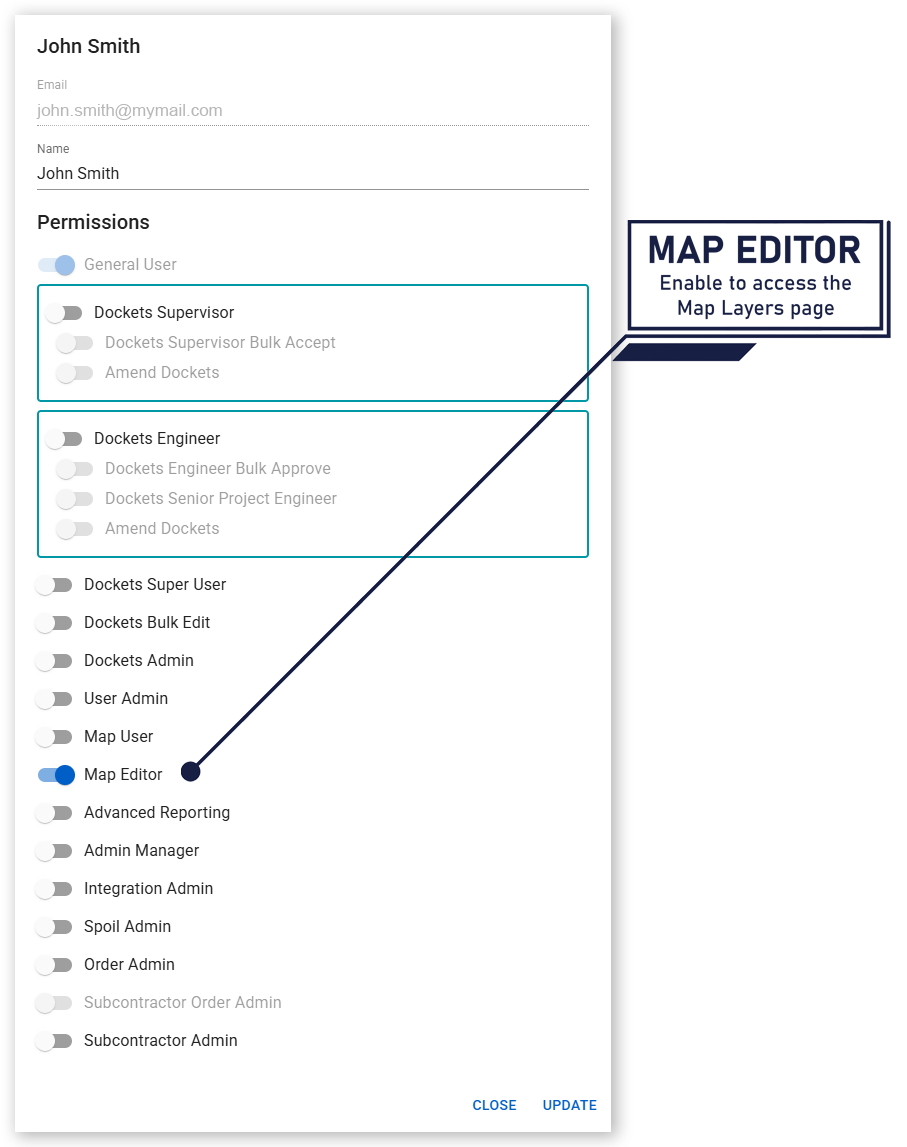
Users with this permission can:
- Access the Map Layers page
- View imported map layer details
- Import and delete map layers
- Manage default map layer visibility
Open the Map Layers Page
To open the Map Layers page:
- Sign in to Virtual Superintendent.
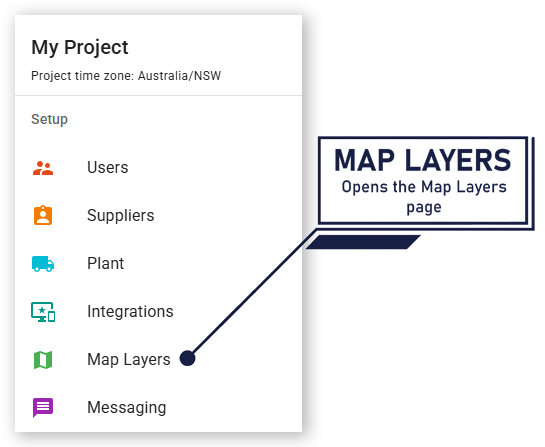
- Click Menu > Map Layers. The Map Layers page opens.
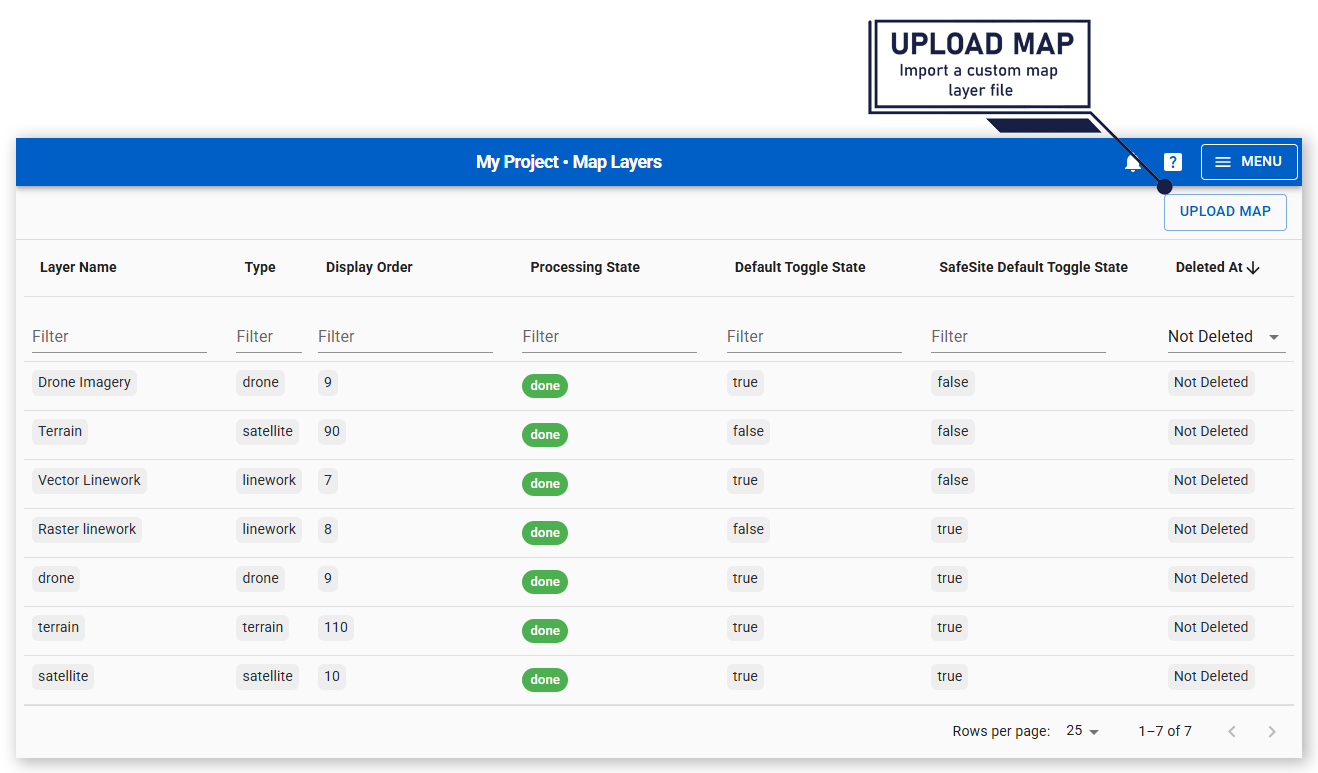
From the Map Layers page, you can import map layer files, view the type and processing status of existing layers, review each layer’s default visibility in both the SafeSite app and Virtual Superintendent, adjust the display order of layers on maps, and also delete map layers while viewing deletion timestamps.
Import a Map Layer File
To import a map layer:
- Sign in to Virtual Superintendent.
- Click Menu > Map Layers. The Map Layers page opens.
-
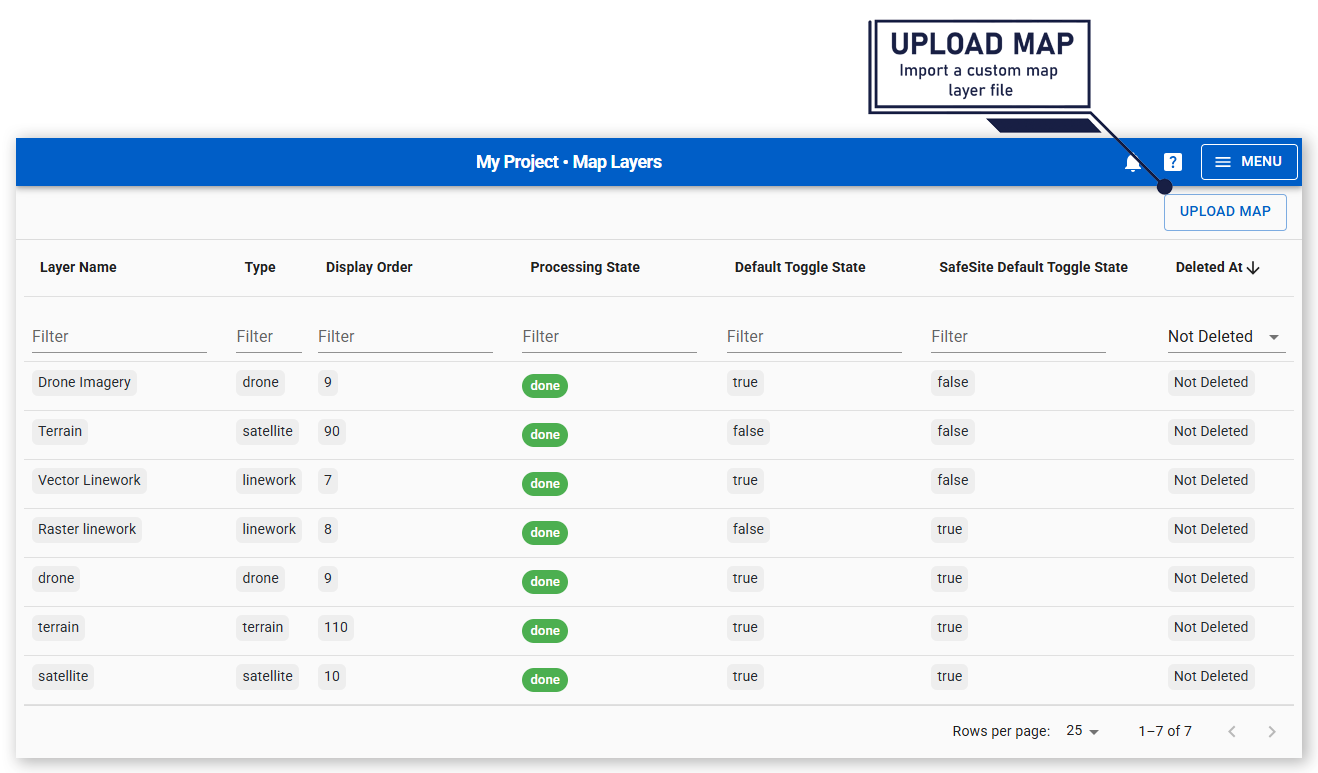
Click UPLOAD MAP. The UPLOAD MAP dialog opens.
 Click or tap to expand image
 -
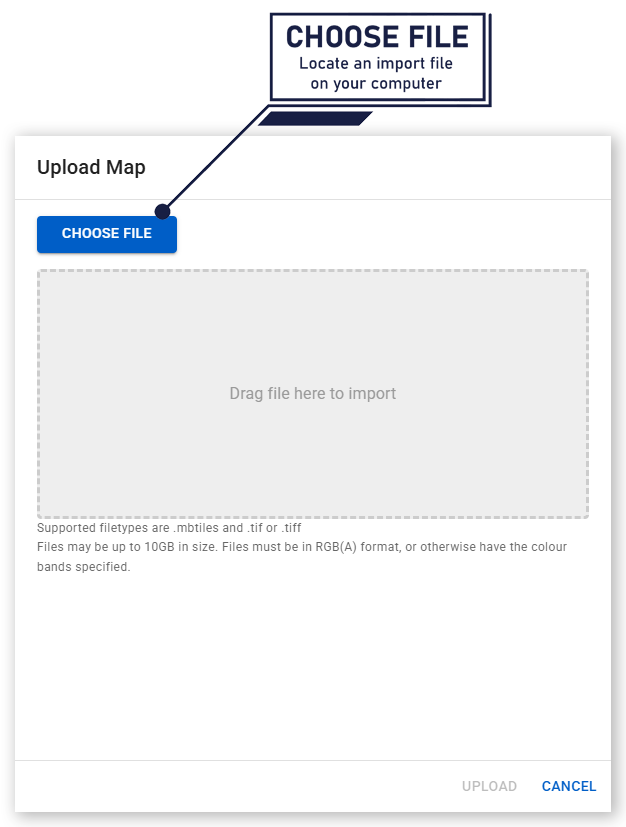
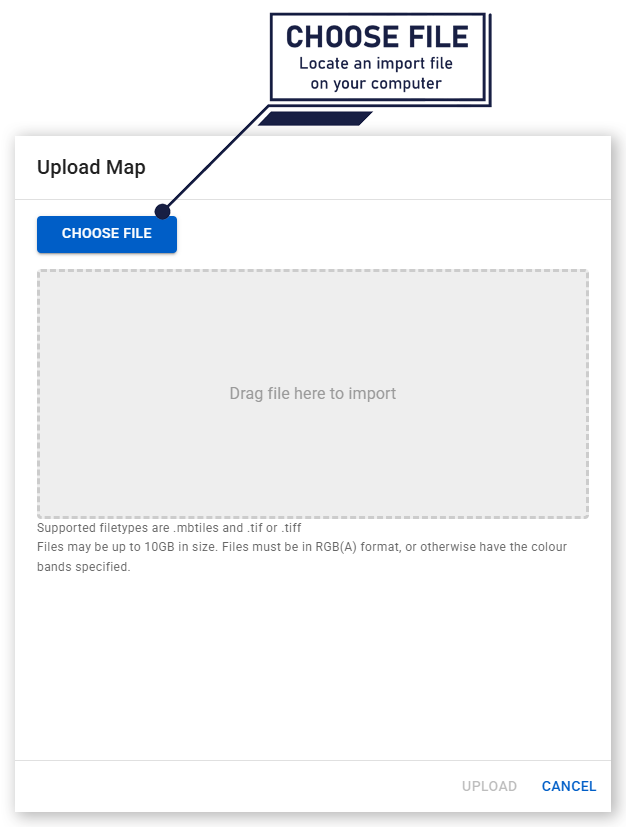
Click CHOOSE FILE. Your file explorer opens.
 Click or tap to expand image
 - Navigate to a
.mbtiles,.tif, or.tifffile on your computer. - Select the file and click Open. The file explorer closes.
-
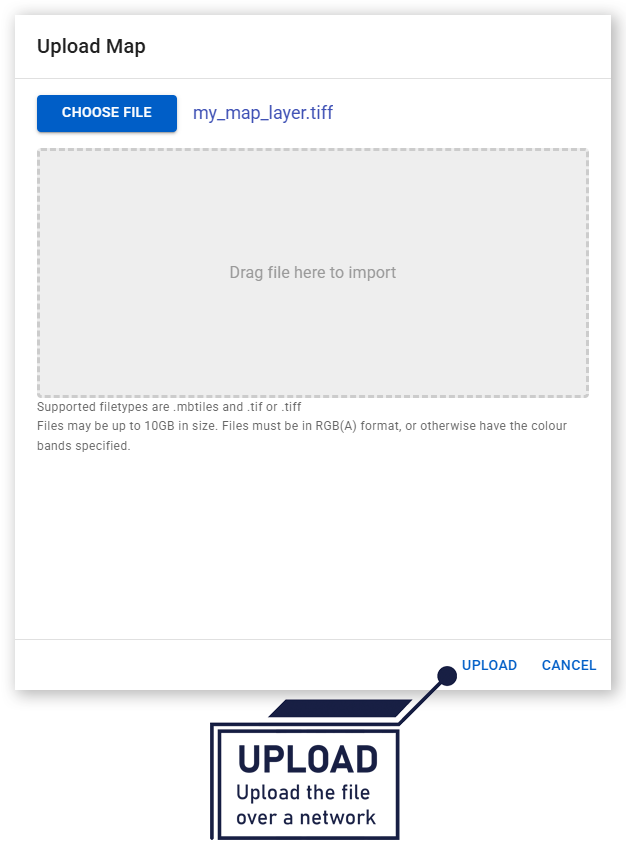
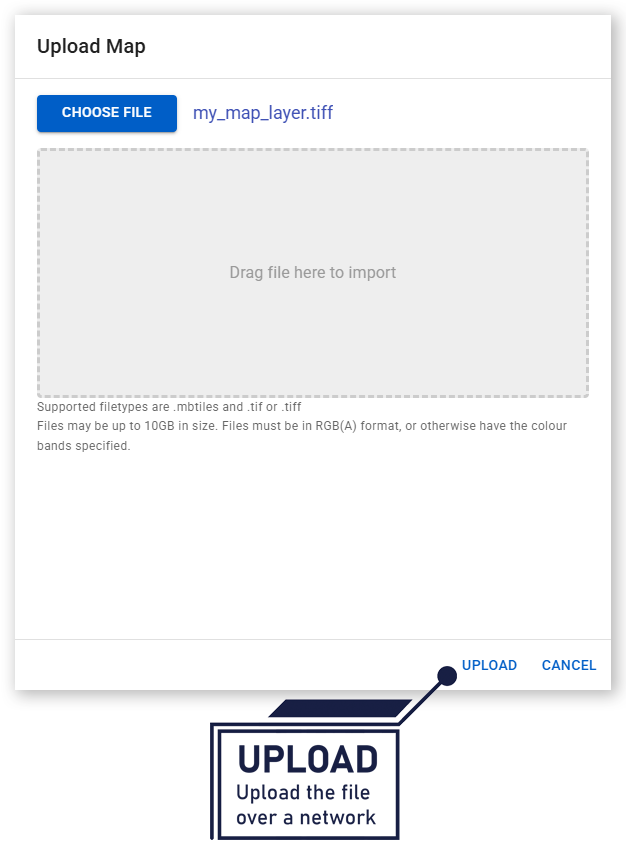
Click UPLOAD. The file is uploaded and processing begins.
 Click or tap to expand image
Processing Map Files
The file’s progress is shown in the Processing State column.
Processing occurs in four stages:
-
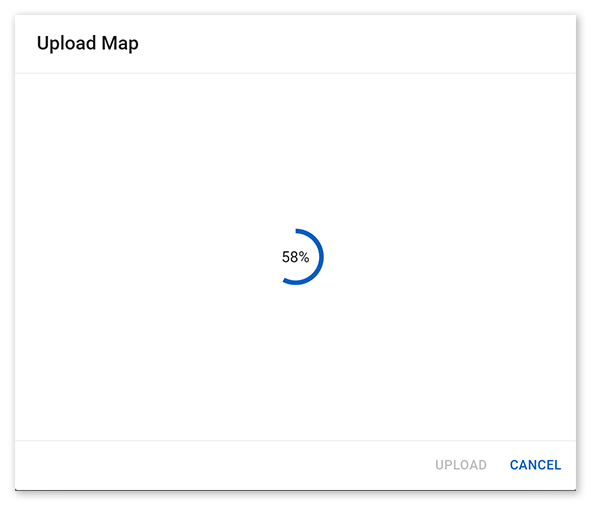
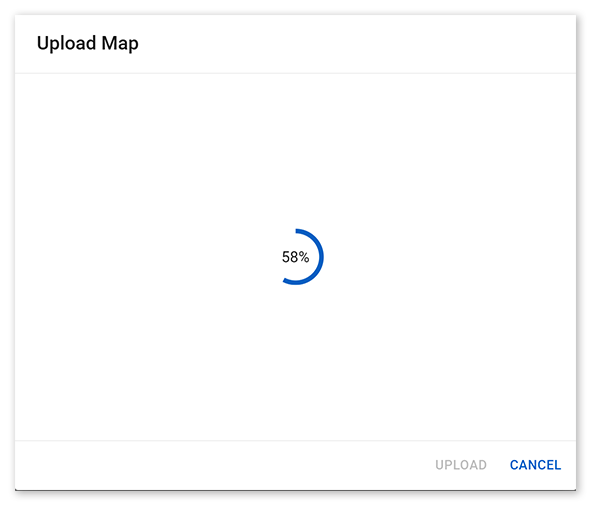
Uploading - The file is uploaded to the server while the Upload Map dialog remains open. Closing the dialog during this stage cancels the upload.
 Click or tap to expand image
 -
Upload completed - The upload finishes and the dialog displays Import completed!. The new layer appears in the table with an Uploading status, and you can safely close the dialog or leave the page.
 Click or tap to expand image
 -
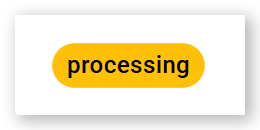
Processing - Virtual Superintendent converts the uploaded file into map tiles. This stage might take up to 60 minutes, depending on file size.
 Click or tap to expand image
 -
Done - Processing is complete and the map layer is available for use on maps.
 Click or tap to expand image


Note: Import files must be 10 GB or smaller and formatted as RGB or RGBA, or have color bands defined.
The Map File Table
| Column | Description |
| Layer Name | Name of the imported map layer |
| Type | Type of layer (for example, drone, satellite, linework) |
| Display Order | Stacking order of the layer on the map. Layers with higher display order values are drawn beneath layers with lower values. In other words, the higher the value, the lower the layer appears in the stack; the lower the value, the higher the layer appears on the map. To change the display order, click a layer to open the Map Style dialog, update the Display Order value, then click SAVE. New layers are given a default Display Order value of 80 which should then be changed to a value not being used by other layers. |
| Processing State | Current processing status of the imported file |
| Default Toggle State | Whether the layer is enabled by default on the Virtual Superintendent Maps screen. Values are True or False. To edit this setting, click the layer to open the Map Style dialog, |
| SafeSite Default Toggle State | Whether the layer is enabled by default on the SafeSite map. Values are True or False. To edit this setting, click the layer to open the Map Style dialog, use the SafeSite Default Toggle State control to set the layer’s default visibility, then click SAVE. |
| Deleted At | Deletion status of the map file. Displays Not Deleted if the file is active, or a timestamp showing when the file was deleted |
Note: Imported layers can be deleted by selecting the map layer row and then clicking Delete in the dialog that opens. The date and time of the deletion is shown under the Deleted At column.
Use Map Layers
- Sign in to Virtual Superintendent.
- Click Menu > Maps. The Maps page opens.
- Open the Users, Layers and Charts panel in the top-left corner.
- Select the Layers tab.
- Expand the Base Layers section.
- Enable the imported layer using the toggle.
The initial visibility of each layer is determined by the Default Toggle State configured on the Map Layers page.